Owning a laser cutter changes which of our files you should reach for — the same design can call for different settings depending on whether you’re running a $200 diode laser or a $6000 CO2 system. Here’s how to match machine to material without burning through test sheets.
Diode lasers (entry-level, under $500)
Great with wood and dark, non-reflective materials. Struggles with clear or light-colored acrylic — the beam passes through rather than cutting it, and reflective materials can actually bounce the beam back toward the laser itself, which is a real safety issue, not just a cutting-quality one.
Stick to: plywood, basswood, dark leather, cardstock.
CO2 lasers (the workhorse, $2000+)
Cuts nearly everything in our material list cleanly, including clear acrylic — this is the machine type most craft-fair sellers eventually upgrade to. Higher wattage (40W+) cuts faster and allows thicker material in a single pass instead of two.
Best all-rounder for a shop running multiple material types across a product line.
Fiber lasers (specialized, for metal)
Not typically used for our SVG/DXF files directly since they’re built for engraving and cutting metal rather than wood or acrylic — worth knowing about only if you’re planning to add metal charm accents to a design.
The setting that matters most: passes, not just power
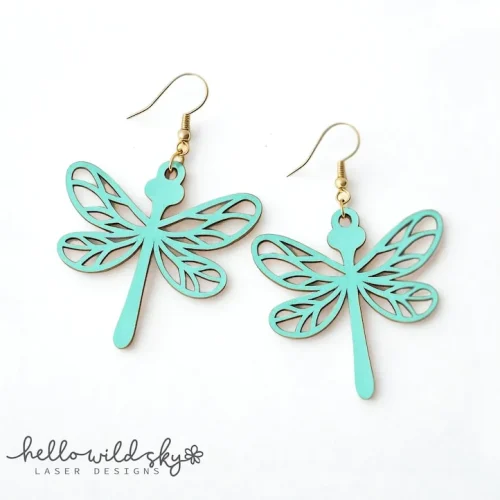
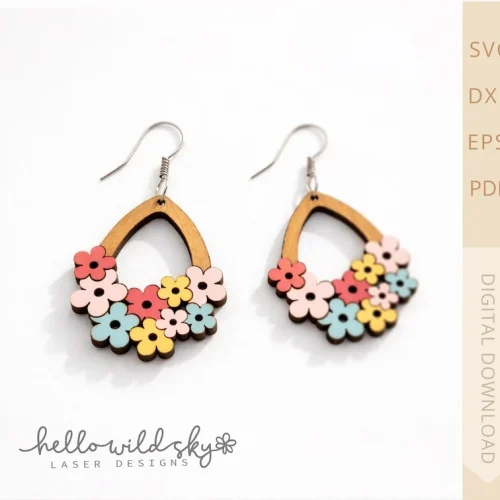
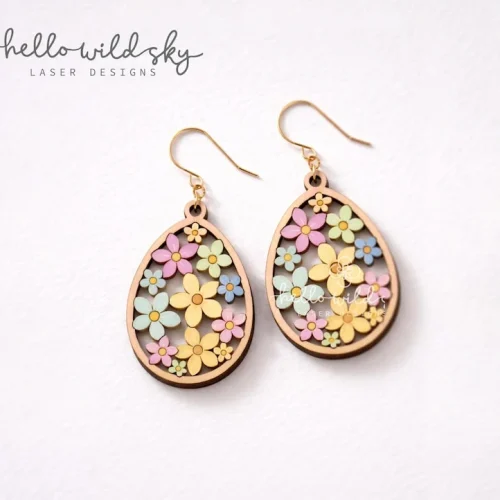
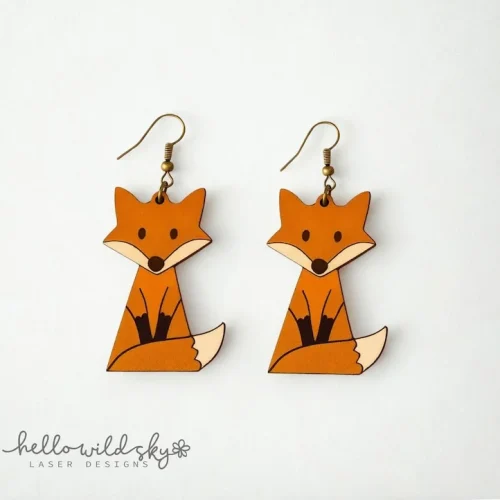
New owners often crank power to max to cut faster, which usually chars edges instead. Two lighter passes at moderate power almost always beats one pass at max power for edge quality — slower, but the finished piece looks noticeably cleaner, especially on detailed earring designs where edge quality is visible up close.
When in doubt, check your machine’s community
Owners of the same laser model have almost always already found the right settings for common materials — a quick search for “[your laser model] + 3mm birch settings” saves the trial-and-error most people go through starting from zero.